Staff
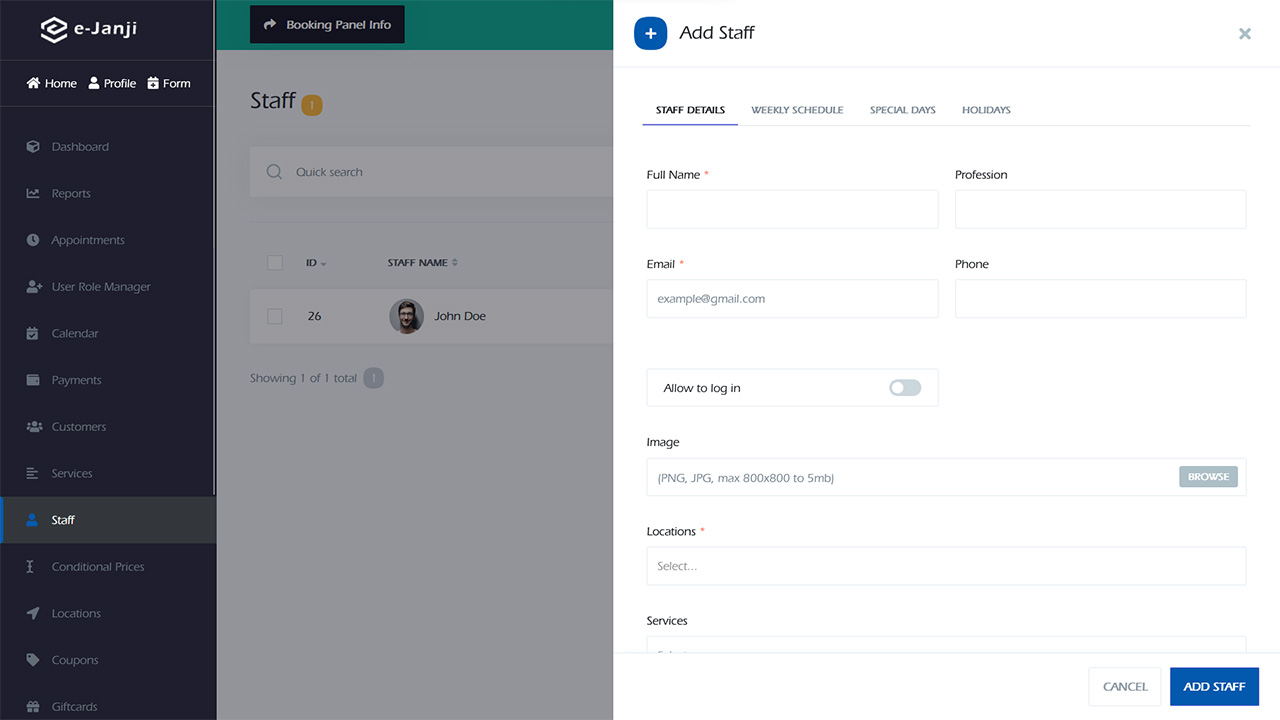
e-Janji offers the convenience of supporting multiple staff members. It allows you to easily add staff members from various locations to the system. To begin the process of adding a new staff member, simply click on the “ADD STAFF” button. Upon doing so, you will be presented with an opening window that contains four tabs for managing the staff details.
- DETAILS
- WEEKLY SCHEDULE
- SPECIAL DAYS
- HOLIDAYS
In the DETAILS section, we will input essential details regarding the Staff members. This includes selecting their name, email address, phone number, and profile picture. The profile photo and name of the Staff will be displayed during the booking process. Additionally, we will choose the Staff’s location. If the Staff works at multiple locations simultaneously, we can select all the locations using the multi-select option. Furthermore, there is an option to include a brief note about the Staff, which will not be visible to the customers.
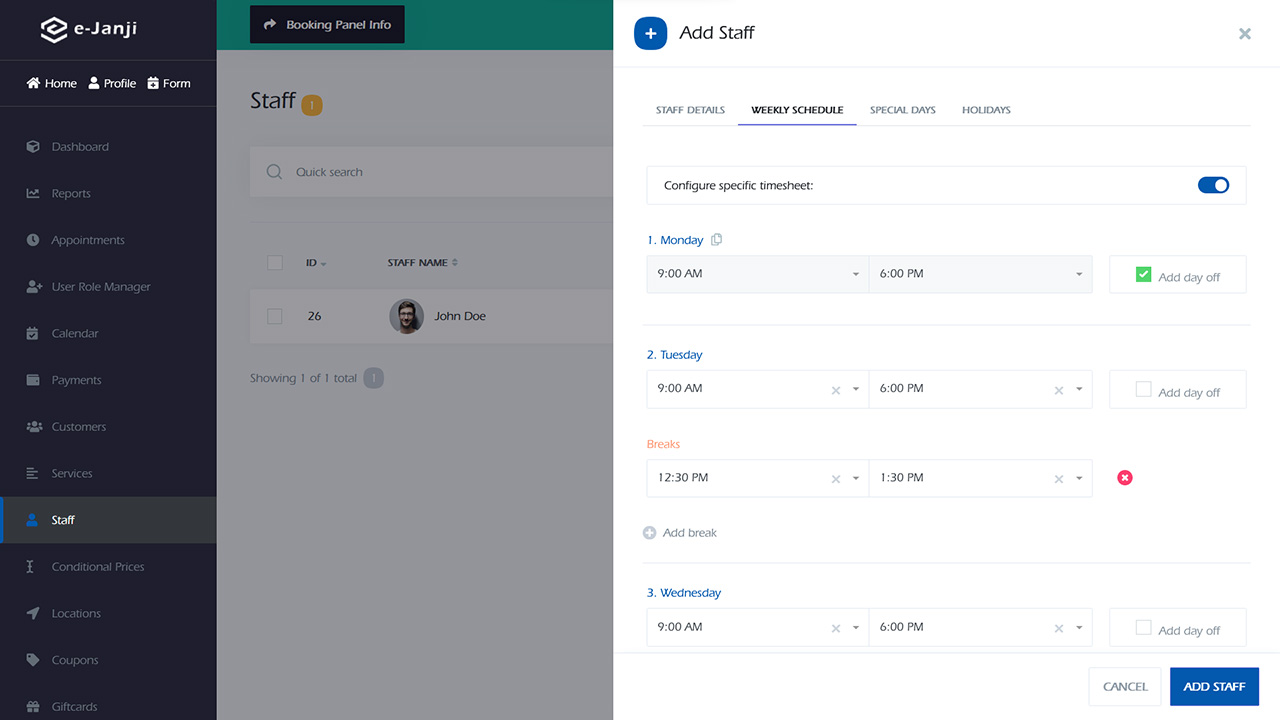
The default working hours for the Staff are determined by the settings. In order to create a customized timetable for the Staff, you need to enable the “Configure specific timesheet” checkbox in the WEEKLY SCHEDULE tab. This allows you to create a unique weekly work schedule for the Staff, where you can specify their non-working days, work hours, and breaks. Additionally, you can set up the start and end times for each workday. If a particular day of the week falls outside of the Staff’s working days, you can designate it as a Day-off. To include break times, simply click on the “Add break” button and save the start and end times of the break. You have the flexibility to add unlimited hours of breaks for each day of the week.
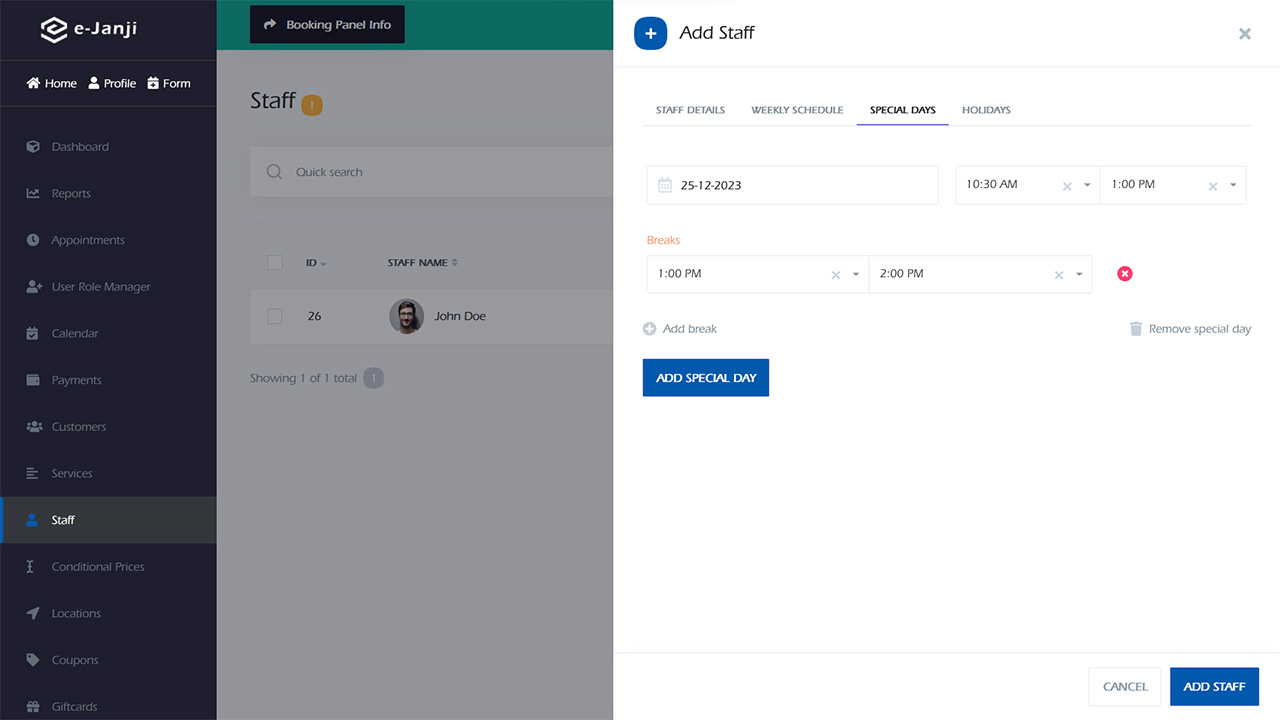
Within the SPECIAL DAYS section, users have the ability to create a customized schedule for staff members on specific occasions. This feature allows for the designation of non-working days for the business, as well as the option for staff members to work only during the latter half of the day. By simply selecting the “Add special day” button, users can input the desired start and end hours within the initial panel. Additionally, if necessary, users can include break times for these special days by utilizing the “Add break” button. In the event that it becomes necessary to remove any previously added special days, users can easily do so by selecting the “Remove special day” button.
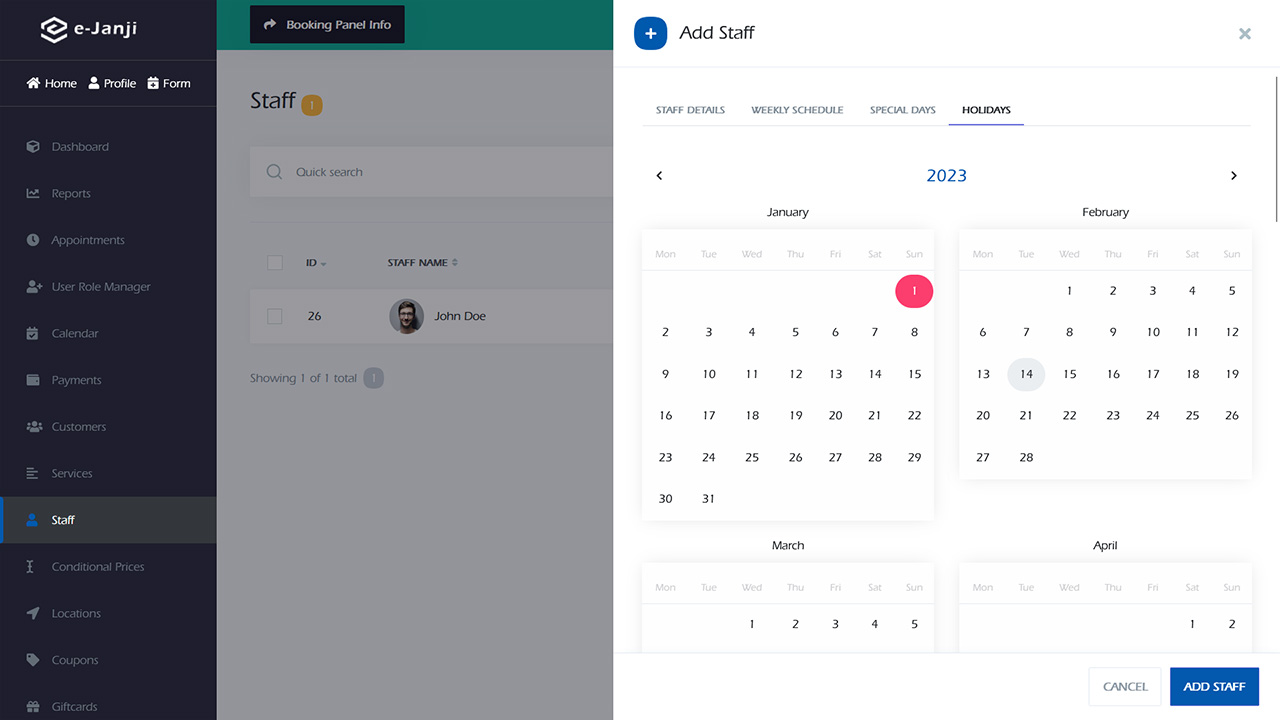
Within the HOLIDAYS section, you have the option to designate particular holidays for your Staff members. By simply clicking on the desired day within the calendar provided in this section, you can indicate that your Staff will not be working on that specific day. It is important to note that if you have already established general holidays for your business in the Settings > Holidays section, and you wish to assign additional holidays specifically for your current Staff, you should record them in this tab. However, it is recommended to select the same holidays for both the Staff and Settings sections, unless there is a specific need for differentiation.
Once you have entered all the necessary details regarding the Staff, you may proceed to save the data by selecting the ADD STAFF button. The list allows you to search for Staff members by their name, email, or phone number. Additionally, you have the option to sort the list in ascending or descending order based on the name, email, or phone number. If you wish to modify any of the Staff information, simply click on the Edit button.
Staff members can be removed either individually or as a group. In the case of deleting a single staff member, simply click on the three-dot menu and select the Delete option. However, if you wish to delete multiple staff members at once, you can do so by selecting the checkboxes next to their names and then clicking on the Delete icon located below.